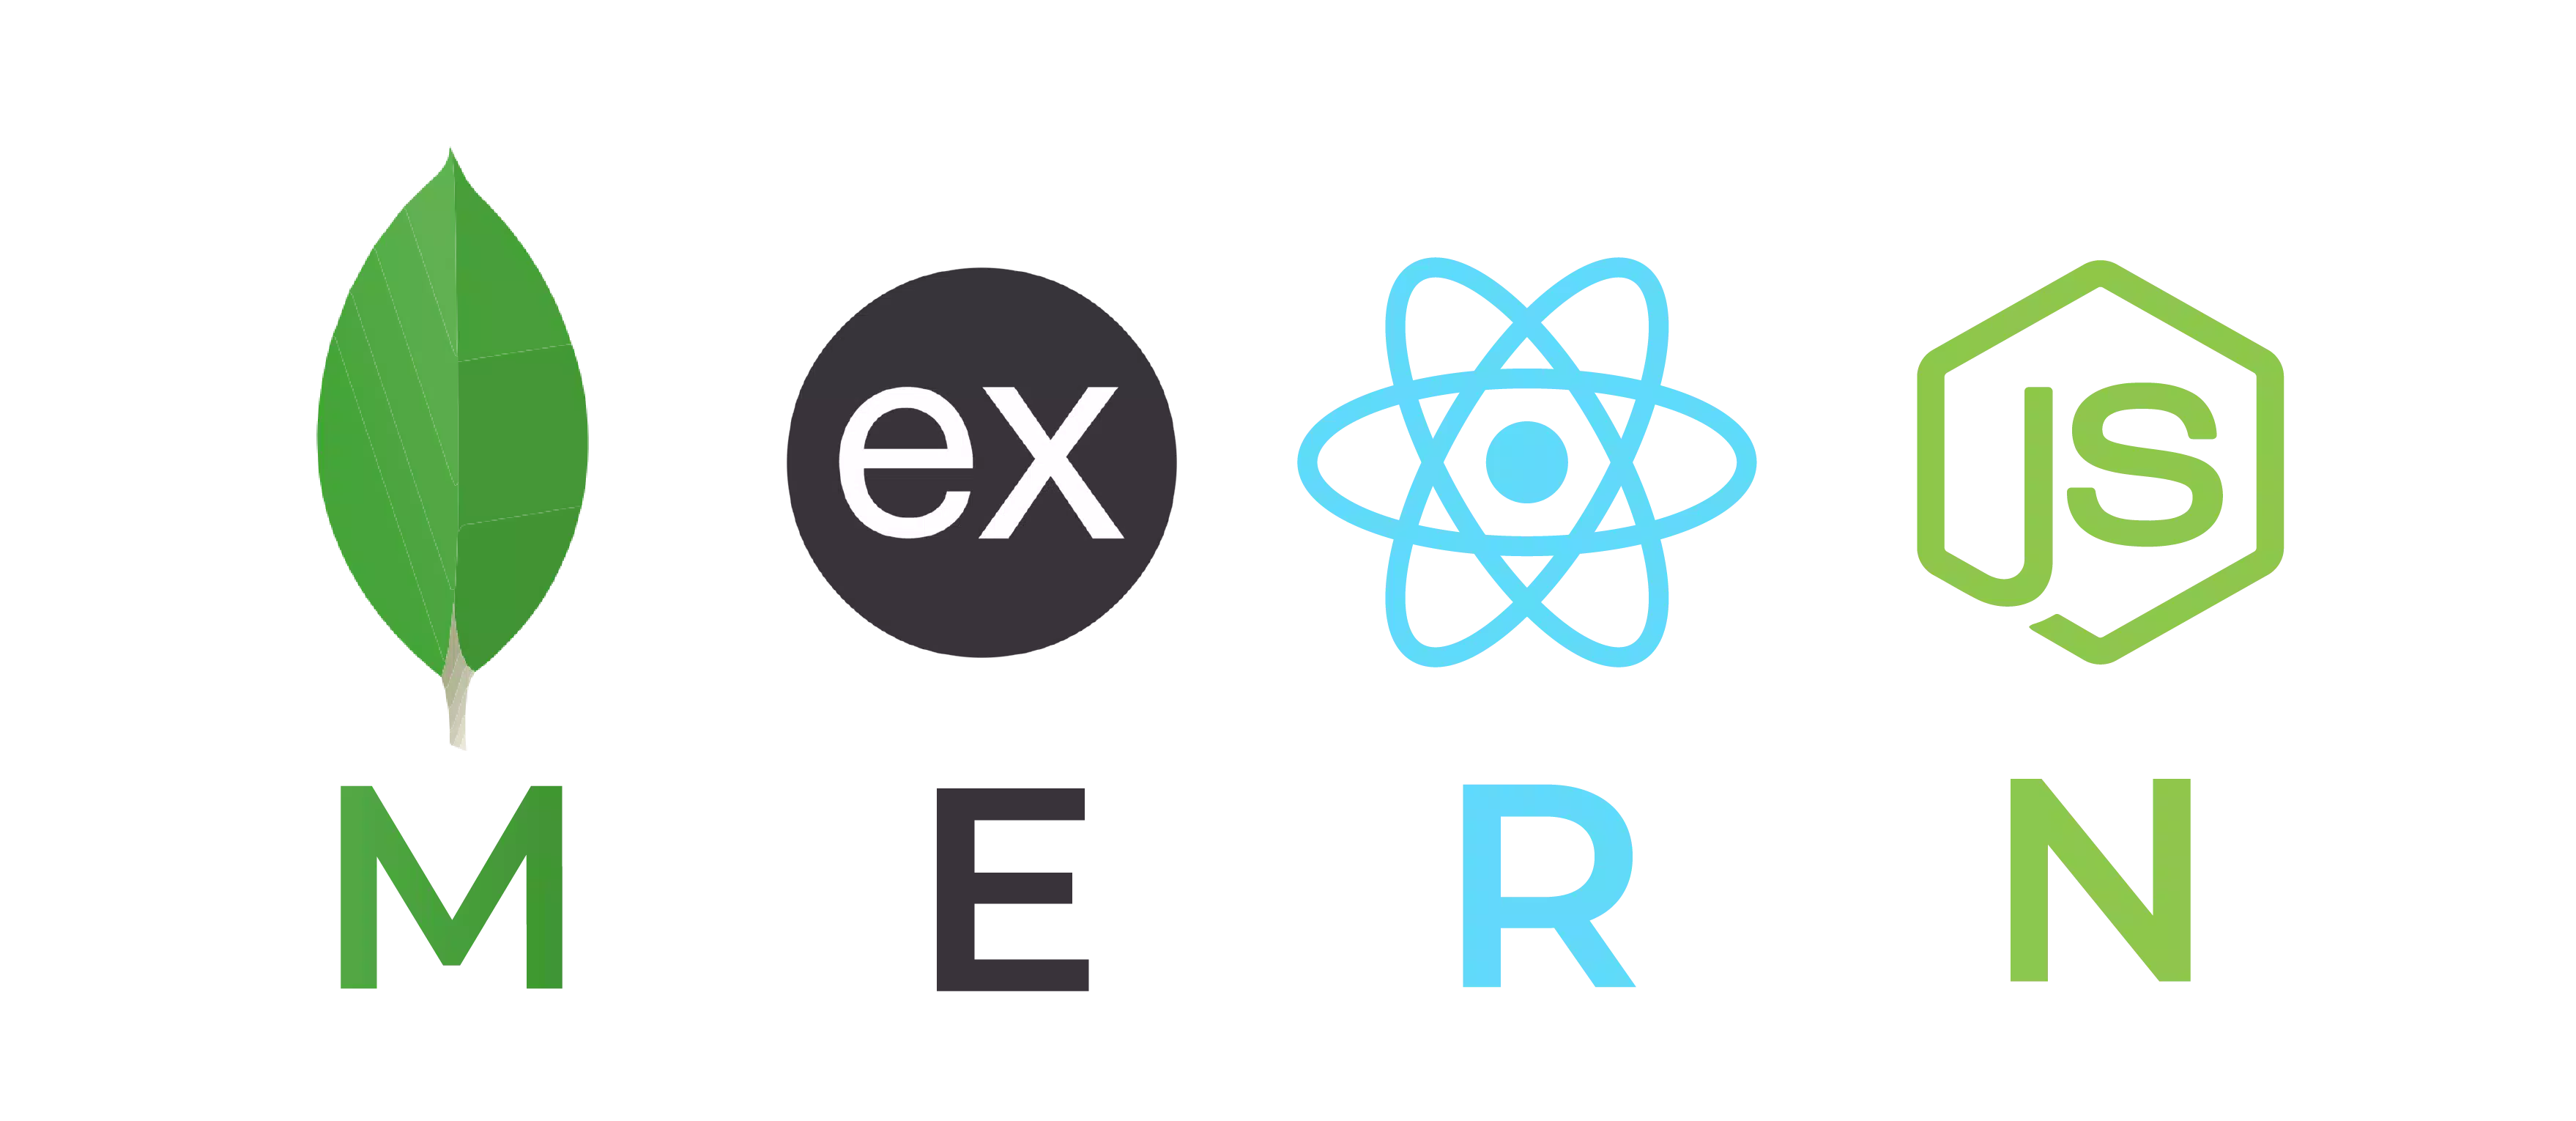
MERN stack is a free JavaScript software stack for building dynamic web applications, consisting of four key technologies.
- MongoDB
- ExpressJS
- ReactJS
- NodeJS
These technologies work together to create a full-stack web application. ReactJS is used to implement the presentation layer, ExpressJS, and NodeJS for the middle or application layer, and finally, MongoDB creates the database layer.

This blog is the first part of a ‘Getting started with MERN stack’ series that aims to get you acquainted with the MERN stack. We will utilize these four technologies to develop a basic application that can authenticate users using JSON web token (JWT) and then display it using React.
So, let’s get started, shall we? At first, you need to do the following:
Install node: Go to https://nodejs.org/en/ and download either the suggested versions, LTS, or the current version.
Install a code editor: You can use any code editor of your liking. I am using the VS code editor with a ‘prettier’ plugin.
You might also like: Make Your Own AI Powered Game
Setting up the project
The first thing we are going to do is create our project folder, so we need to open our terminal and run the following commands:
mkdir mern-stack
cd mern-stack
Now, we will create a folder named back-end that will store all of our routes, models, and controllers. Create an entry point for the server:
touch server.js
npm package initialization
npm init
After that, it will ask you a few questions about the package name, version, entry point, and so on. Hit enter if you want to keep the default. After that, you will get something like this:
package name: (mern-stack)
version: (1.0.0)
description:
entry point: (server.js)
test command:
git repository:
keywords:
author: Prakash Mahat
license: (ISC) MIT
About to write to /home/user/mern-stack/package.json:

{
  "name": "mern-stack",
  "version": "1.0.0",
  "description": "",
  "main": "server.js",
  "scripts": {
    "test": "echo \"Error: no test specified\" && exit 1",
    "start": "node server.js"
  },
  "author": "Prakash Mahat",
  "license": "MIT"
}


Is this OK? (yes)
Select yes and you’re ready to go. It created a file named package.json Installing required dependencies
npm i express dotenv mongoose colors
Next, add nodemon as a dev dependency. Nodemon is a utility that will monitor for any changes in your source and automatically restart your server.
npm i -D nodemon
At this point, your package.json file should look like this
{
 "name": "mern-stack",
 "version": "1.0.0",
 "description": "",
 "main": "server.js",
 "scripts": {
   "test": "echo \"Error: no test specified\" && exit 1",
   "start": "node server.js"
 },
 "author": "Prakash Mahat",
 "license": "MIT",
 "dependencies": {
   "colors": "^1.4.0",
   "dotenv": "^16.0.0",
   "express": "^4.17.3",
   "mongoose": "^6.2.10"
 },
 "devDependencies": {
   "nodemon": "^2.0.15"
 }
}
Now, add extra script to package.json
"scripts": {
    "start": "node backend/server.js",
    "server": "nodemon backend/server.js",
  },
Initialize and create an express server on server.js
// server.js

const express = require('express');

const app = express();

app.get('/', (req, res) => res.send('Hello world!'));

const port = process.env.PORT || 5000;

app.listen(port, () => console.log(`Server running on port ${port}`));
Now run the command:
npm run server
You’ll see the server running at port 8000 as it is defined in the .env file.
Conclusion
In the part I of the blog, we learnt to set up the project for MERN application development. The next parts will cover connecting to MongoDB Atlas, and setting up react application.
ReactJS is a widely used JavaScript library for building interactive user interfaces. Read about our collaboration with Almond to build a mobile commerce app based on React that enables communities in developing countries to grow revenue.
Stuck with web application development? Contact us for a consultation on Application Development.

